


Not everything I do in the studio ends up directly as a skein of wool in the webshop. Sometimes the process itself is the most beautiful thing to follow. With ice dye, I watch how color slowly moves while the ice melts. Sometimes this gives beautiful results, sometimes it just becomes a tub of mud.
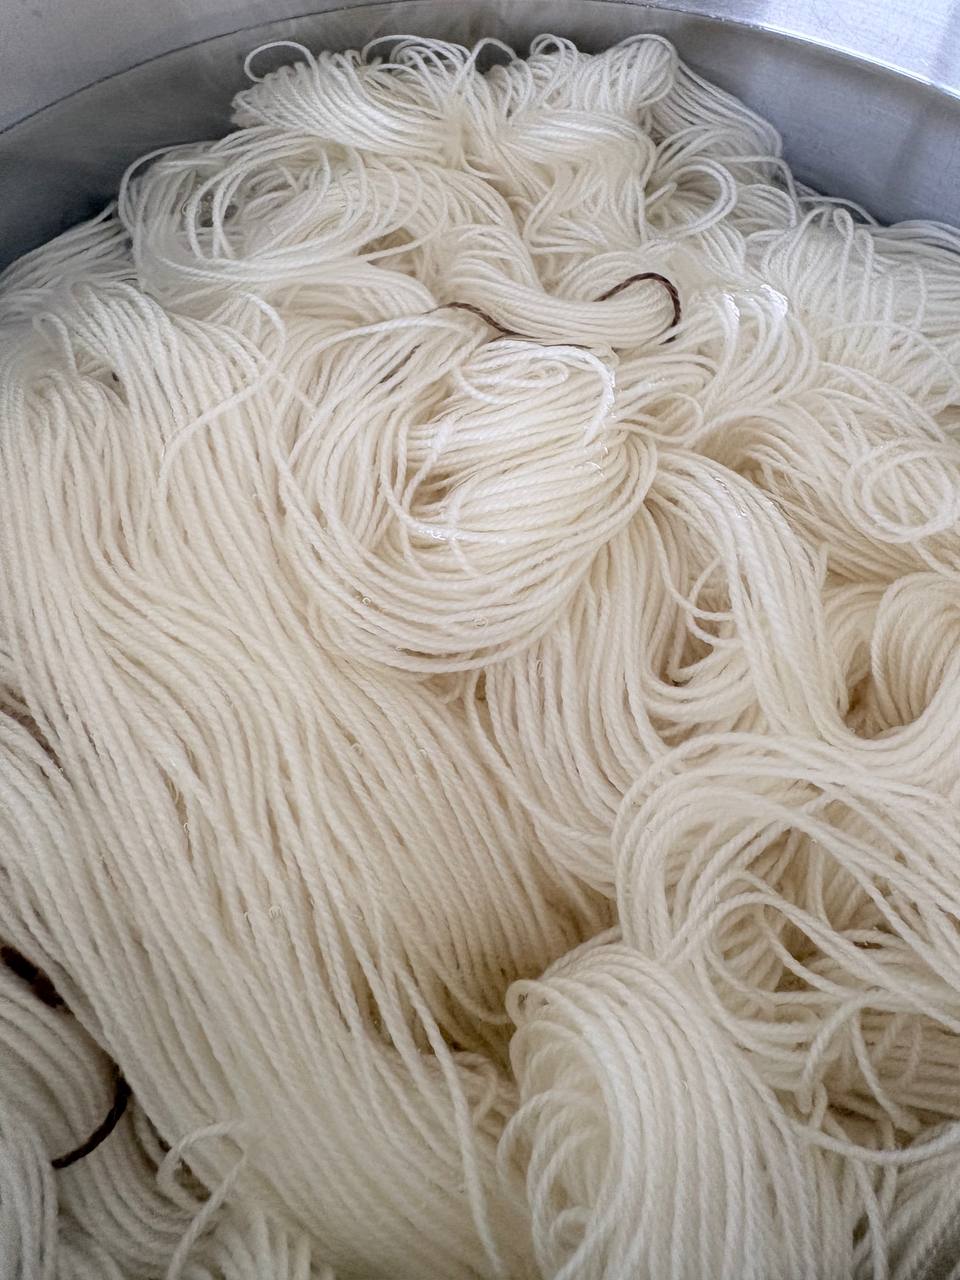
Before I start, the wool goes into a pre-soak first. In this case, water with vinegar. Pre-soaking is the quiet part. The skeins lie in the water and act as if nothing is going to happen yet. I can check if everything is positioned correctly, but there isn’t much to judge yet.
When the ice takes over
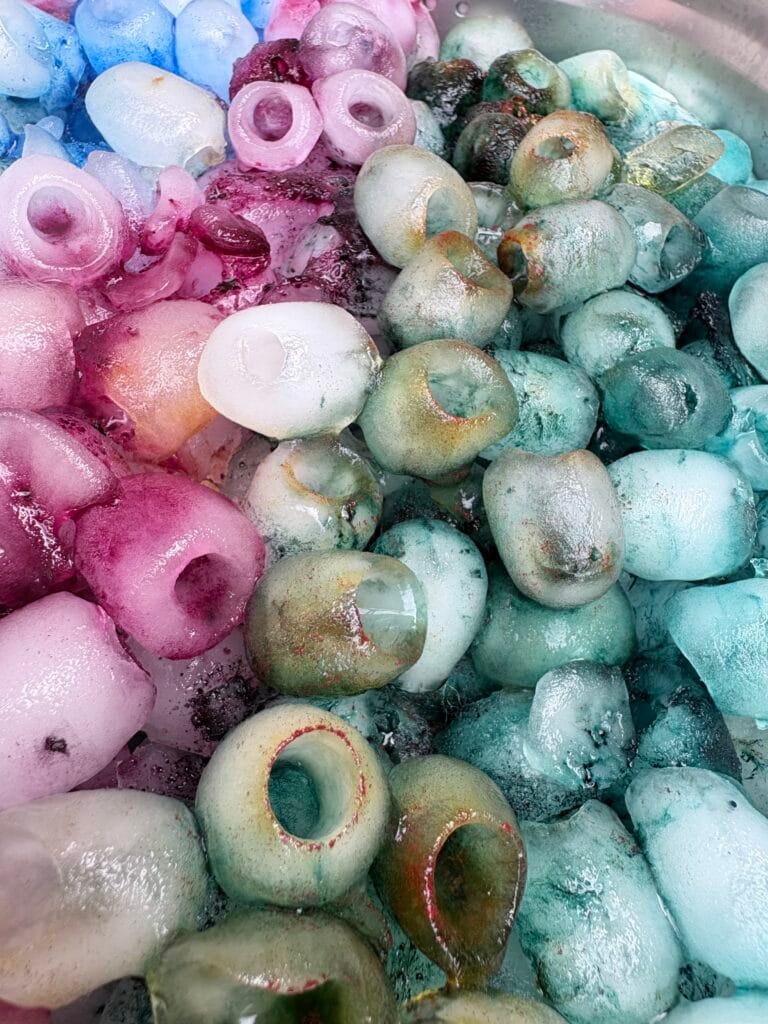
Then I distribute ice and dye over the wool. Once the ice is on there, I can want all sorts of things, but the ice remarkably doesn’t care. While it melts, I watch where the color is drawn and where different colors touch each other.

Watching, and sometimes consciously doing nothing
In some places, colors run toward each other. In other places, they break apart. That’s when it gets interesting, or it starts to look more like mud. That difference often isn’t in one big intervention, but in color choice, material, and the moment I decide whether or not to adjust.
The hardest part isn’t adding dye, but deciding that nothing more needs to be added for now. The image under the ice isn’t the final result yet; only after setting and rinsing does it become clear what has actually stayed in the wool.
What ultimately remains
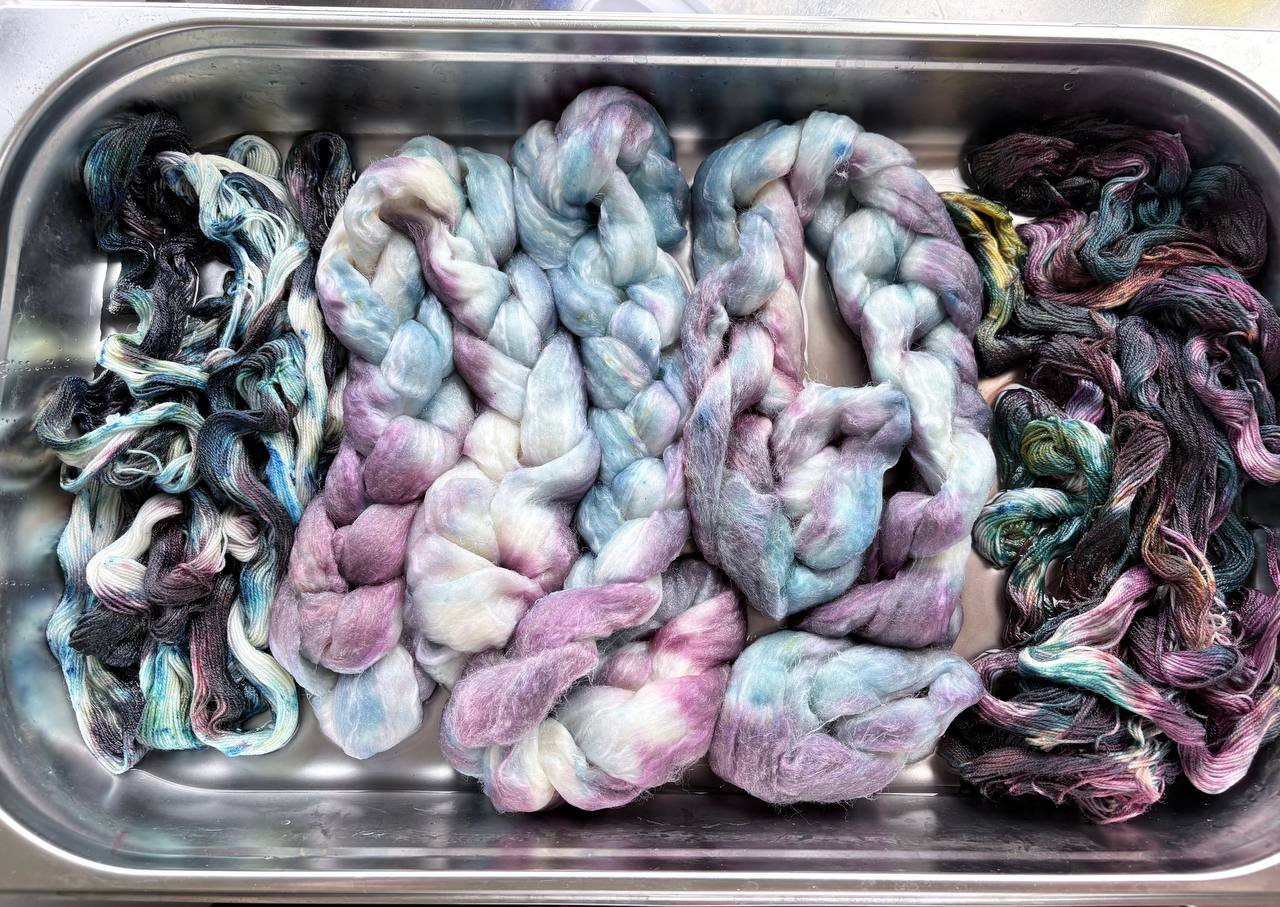
After setting, rinsing, and drying, the skeins and fibers look very different than they did during the melting. Then I can look back: which colors stayed, where does a combination work, and what do I take with me to the next dye bath?
No secret recipe
Ice dye is no trade secret. Pre-soaking, ice dye, setting, and rinsing are well-known techniques. For me, the difference lies in the color choices, the wool, the conditions, and in what I see along the way and decide to change or not. That’s less mysterious than a recipe, but a lot more interesting.